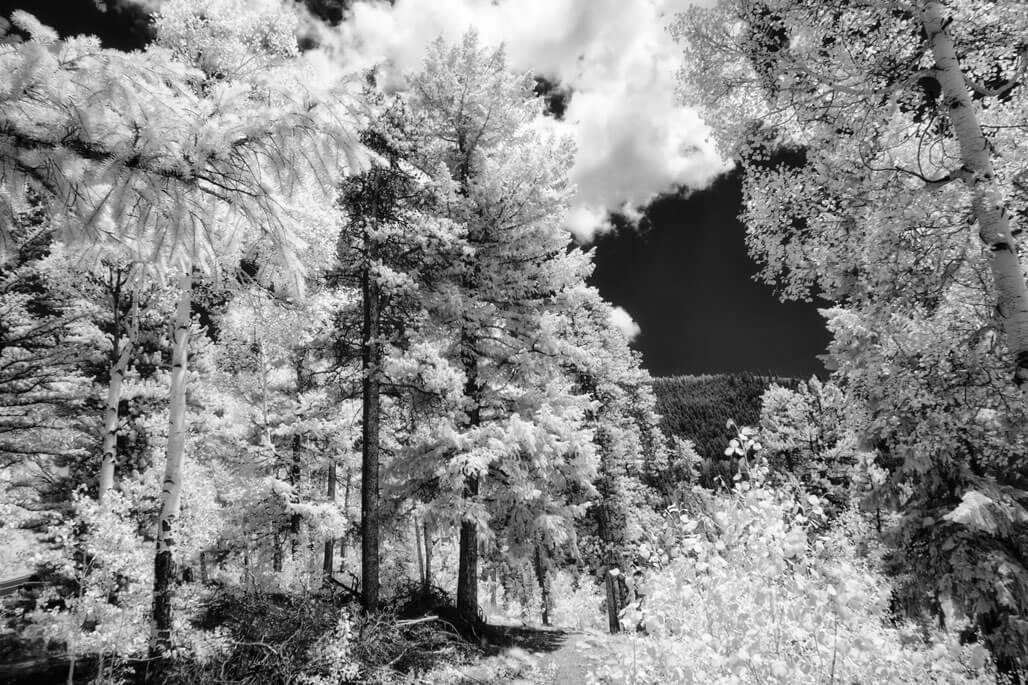
Tips for Capturing the Infrared Landscape
Today’s Post by Joe Farace
Something to think about: When working with infrared images everything you know about visible light is wrong.

That’s because exposure meters are not sensitive to infrared light (or even some LED lighting, but that’s a subject for another day,) it can be difficult to calculate exact exposures but that doesn’t mean you shouldn’t try. Although mirrorless camera’s LCD screens provide instant feedback, it’s not always accurate. And not predictably in the same direction—over or underexposure— and can vary from camera to camera and from IR conversion to filters used.
And you can’t trust your eyes. Two subjects that seem equally bright under normal (visible) light might reflect infrared radiation at different rates and exhibit different brightness. And as I’ve discovered time of day can have a dramatic effect on the results. So what’s a poor hippo to do? (as it says on my favorite coffee mug)…
 Tip #1: Shoot RAW. Eliminating all of the hoo-haw of JPEG gives you a better image file to start with. But I still recommend that you shoot RAW+JPEG with the camera set in monochrome mode if only you to give you a preview albeit flawed of what the RAW file might reveal. You can toss the JPEG later.
Tip #2: Bracket, Most digital cameras an auto bracketing function that make a specified series of shots at exposures over and under what is considered “normal.” Even if your camera doesn’t have bracketing function it should have an Exposure Compensation feature that lets you adjust exposures in one-half or one-third stops. I use this one a lot when shooting RR. If all fails and you’re still not happy with the results shoot in Manual mode.
Tip #3: Just because you don’t have a converted IR camera doesn’t mean you can’t use all the tips covered here with cameras that are infrared capable out of the box. It does mean that when using dark filters (you can’t really see though them) but most mirrorless cameras provide a pretty good preview, depending on the filter’s density and the final exposure. Tip 3a: Because of the long exposure times produced, you will need a tripod.
Mark and I have found that Life Pixel does a great job with IR conversions. You can get $50 OFF with Priority Processing Upgrade by using coupon code: Toal-IR. Don’t miss out on this soon to expire offer, order your conversion today
!

My book The Complete Guide to Digital Infrared Photography is currently out of print but you can get an affordable used copy or not-so-affordable new copies of the book from Amazon.com.


