Working with Lighting Ratios
Today’s Post by Joe Farace
If you’re new to studio lighting (although the concept applies to available light portraiture as well) you may have heard the term “lighting ratio.”
 In photography, the term lighting ratio refers to a comparison of the main light (from which shadows fall) to the fill light (in the shadow areas.) In classical portraiture a lighting ratio of 3:1 is considered normal for color photography; The higher the lighting ratio, the higher the contrast of the image; the lower the ratio, the lower the contrast. Using a standard lighting ratio can be helpful when you’re getting started because it provides a baseline guaranteeing your images will have some sense of lighting rather than the bland “lets through every light at it” approach. But there are pros and cons to using any kind of formula in photography, especially when it comes to lighting.
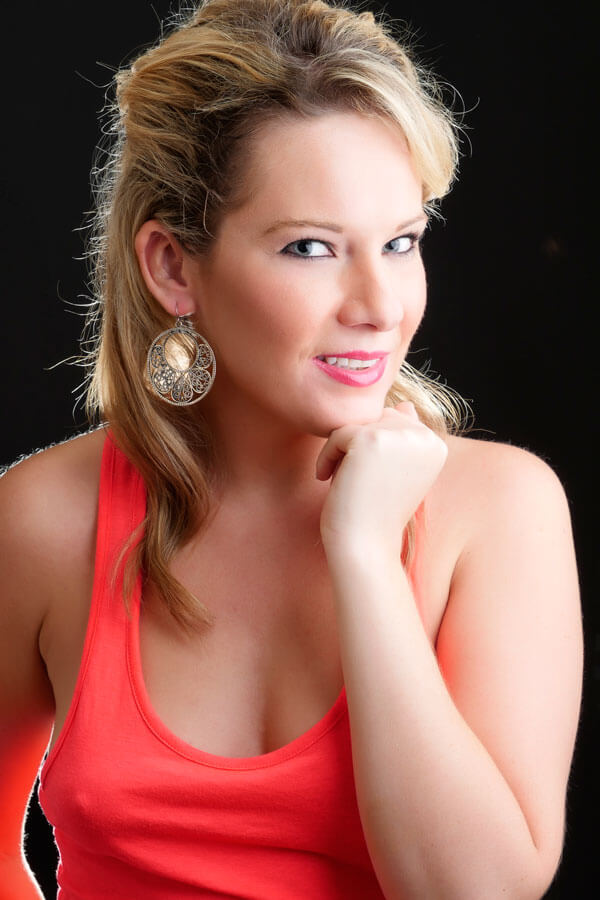
There are two approaches to setting up lighting ratios: One is to let the ratios control the shot and the other—my favorite—is to set the lights where you want and worry about ratios later. You can use whatever approach fits your working style but here’s how I do it:

I start by placing the lights based on what the model is wearing, the background and how much shooting space is available. Generally I prefer—and you may think differently—to work with the softest lights possible. My approach also depends on the lights having proportional modeling lights so changes in lighting are reflected in their output too. That’s why this method works for continuous lighting sources, such as LED, as well. Then I used the light’s variable output settings to vary the light to produce a ratio that looks good to my eyes.
Next I use a meter to measure exposure and then make a test shot and evaluate the image’s histogram but if I need more light I’ll often change the camera’s ISO setting increasing it slightly so I can keep the depth-of-field exactly as it was in the test shot. Tip: With many of today’s cameras there is little difference in digital noise whether the ISO is set at 100 or 400 (or even higher with the newest cameras.) If you’re concerned, about noise you can always capture the images in RAW to reduce JPEG artifacts that are often mistaken for noise.

The original title of my book “ Posing for Portrait and Glamour Photography” was The ABC’s of Portrait Posing. On this blog there are lots of posts about portrait posing. Use the Search box on the upper right-hand corner and type “posing” to find appropriate posts. If you want something more lasting, take a look at my book that’s available from Amazon