Black & White Processing Tips
Today’s Post by Mark Toal with Joe Farace
I’ve had several questions from this blog’s readers about how I process my black and white images. I wrote a post for Joe’s Blog—Saving the World, One Pixel at a Time—about how to set your Micro Four-thirds camera to black and white. Today I want to share the techniques I use to process the images.
You can either start the process with either a color or black and white JPEG file or a color RAW file. When I know that I”ll be processing the image into black and white I set my camera to monochrome mode so I can see something close to the final result on the LCD screen or electronic viewfinder. (Tip: Joe likes to shoot in RAW+JPEG, to preview the JPEG but process the RAW file.)
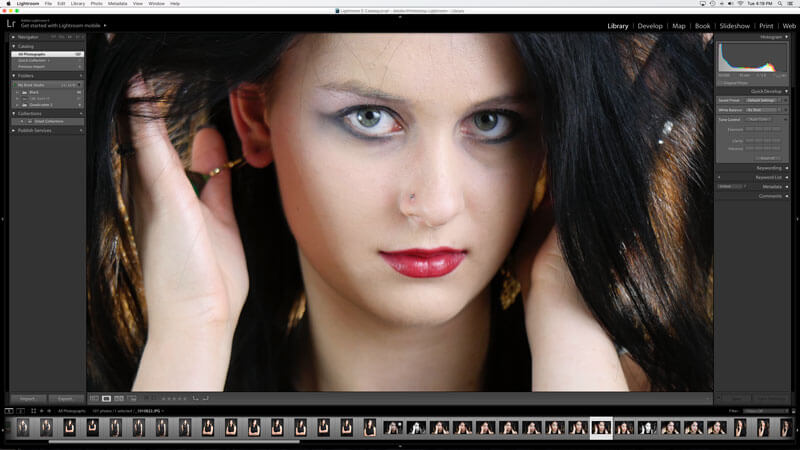
I use Adobe Lightroom for importing and cataloging my images. If you’re serious about photography and don’t already have Lightroom I would highly recommend it. At approximately $150 it does most everything that you need in an image processor. Keep in mind that I don’t like to spend much time processing my photos. If you search online you’ll find other great ways to accomplish this and you should choose what feels best for you.
- Import your images into Lightroom and choose the file that you want to work on.
- For 90% of my images I adjust exposure, bring the highlights down a little, bring shadows up a little, add or subtract a small amount of clarity and then set sharpening to 50. For this image I reduced the clarity adjustment to soften the image.
- If you want a warmer tone, move the temperature slider slightly to the yellow side of the scale.
- I like to adjust the post-crop vignetting to slightly darken the edges and bring attention to the subject.
- As a final touch I do any cropping or straightening needed and I’m done. You can see the exact adjustments I made in the before and after photos.


